Art Represent
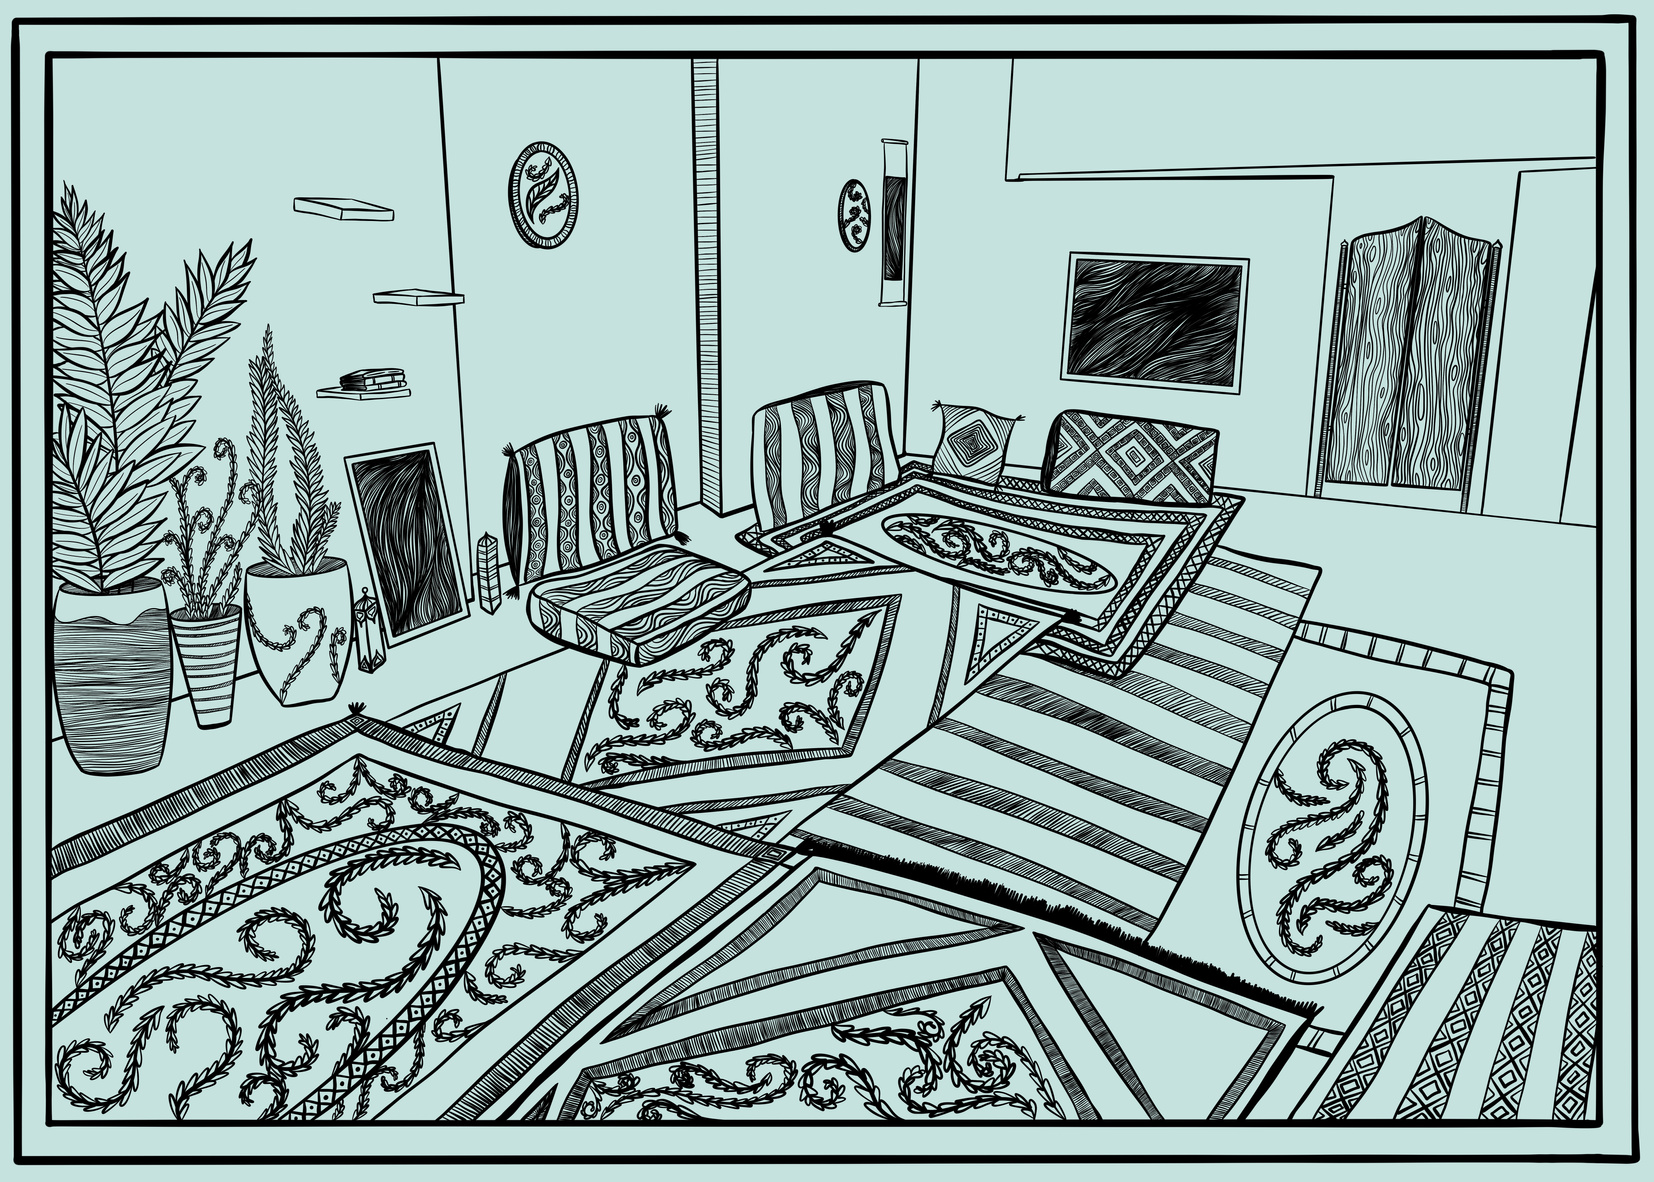
Places of Belonging
We Represent Art Toolkit by Alaa Alsaraji
Project Context
OVERVIEW
The world is more interconnected than ever, but it is also becoming more hostile and polarised in the context of "otherisation"*. The aim of this project is to look at how young people (age 13-16) can use art as an effective force for creating change, and a powerful mechanism for building our capacity for empathy.
We want to invite students to examine various artists and their approaches to art-making, and how art can be used as a tool to explore and address social issues in society.
We encourage you to empower your participants to make this project their own and to work in teams as much as possible.
Other examples of projects with a social aim:
Project Context
OVERVIEW
Research indicates that early exposure to “otherness” and diversity can help young people unlearn biases and have a critical impact on their interaction with people of other races and backgrounds. One method of early exposure is through the arts, which can help students adopt the perspectives of others, and increase interactions with the diversity and realities of communities around the world.
Art Represent has therefore created the We Represent Art Toolkits with artists affected by conflict, featuring art toolkits & guides designed for secondary school teachers and students.
This toolkit, titled Places of Belonging, is created by artist Alaa Alsaraji in collaboration with Art Represent.
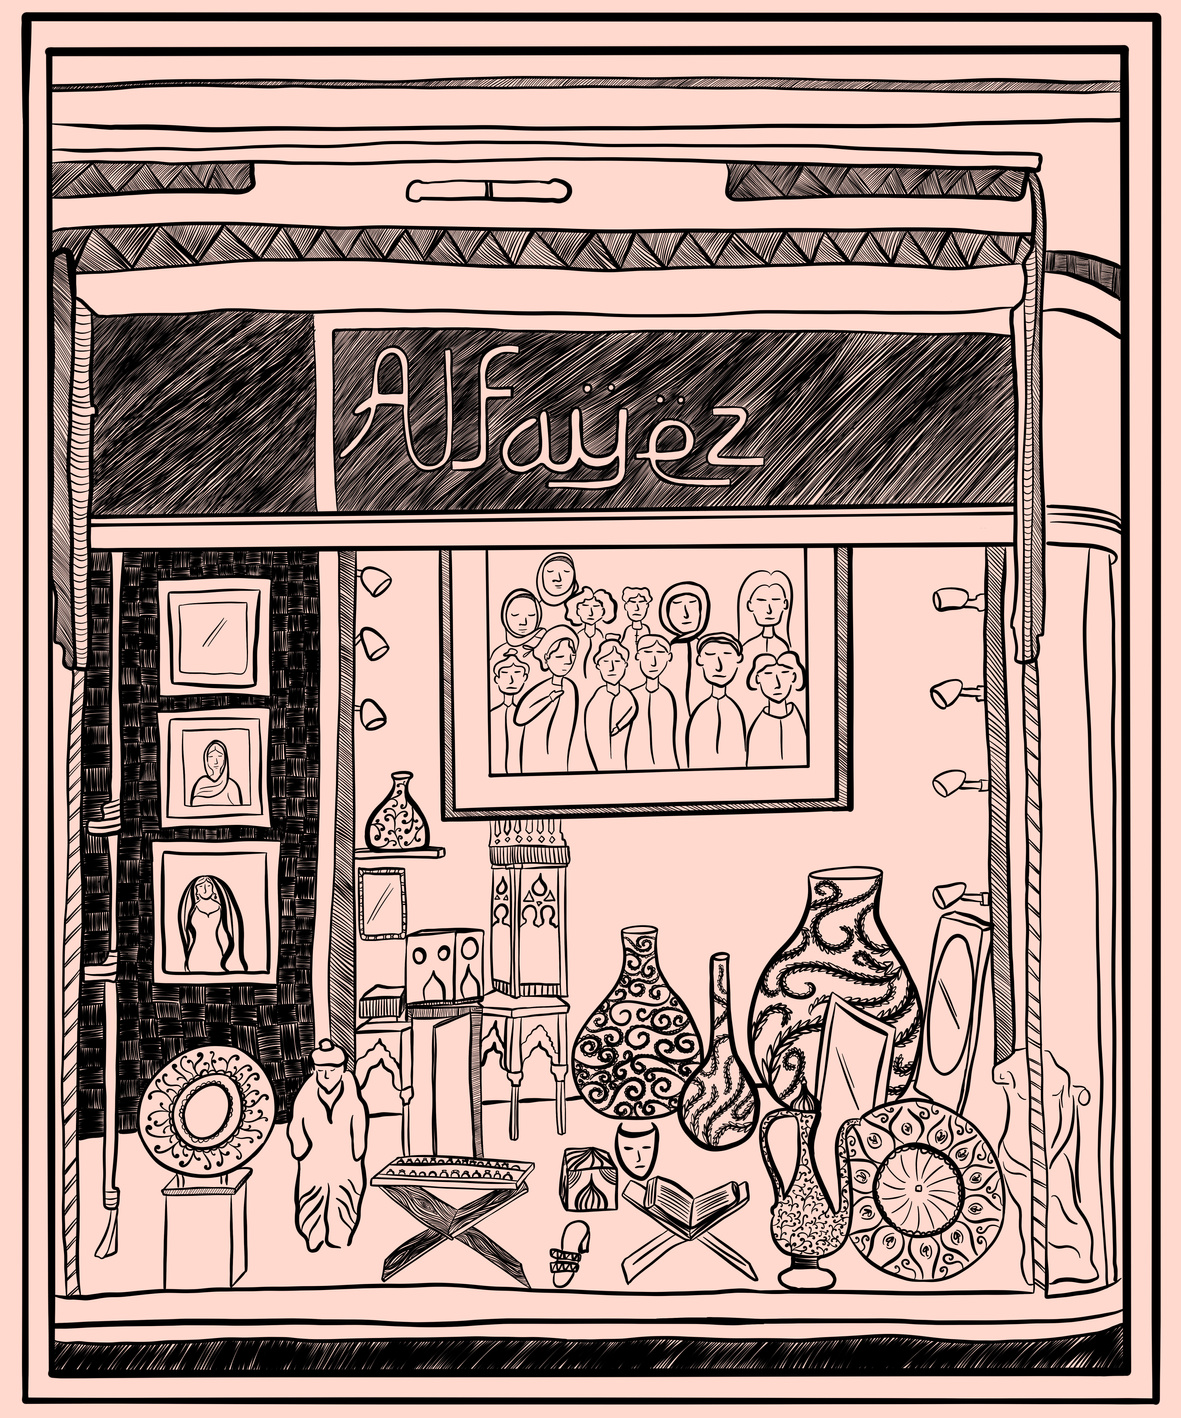
Places of Belonging is based on Alaa's illustration project - Mapping Sanctuaries - which explores the notions of safety and the spaces that exist between isolation and belonging within Muslim communities.
Through this project, students will gain important skills in creativity, project management, and communication. As well as think through issues of community, identity, prejudice, migration, and representation.
Project Context
OBJECTIVES
Through these toolkits, teachers and students will:
- Engage in critical discussions around art and storytelling in giving a voice to people who are often under-represented or not heard
- Become familiar with a particular artistic method; in this module, students will learn the basics of illustration
- Learn how to implement creative thinking into daily life
- Complete a project from ideation to realisation
- Gain and practise skills such as research, critical thinking, and challenging biases.
- Increases knowledge, empathy & understanding of ‘otherness,’ dismantling stereotypes and prejudice of marginalised groups
- Students will gain a sense of agency and confidence, enabling them to implement learnings into other areas of their life
- Develops critical skills in project building, artwork development, communication & teamwork
- Shapes students’ exposure to the creative industries, increasing employability and social equality
- Boosts awareness of art as a means of civic participation, engaging students in meaningful discussion around art, conflict, prejudice and the power of representation
Step by Step
- Take time to prepare and plan
- Workshop 1: Intro & Ideation (90 min in classroom)
- Workshop 2: Finding Stories (90 min, finding locations outside of school may be required, can also be done as group homework)
- Workshop 3: Drawing (90 min, classroom)
- Display the work ( time varies depending on the chosen outcome)
Practicalities
- Some activities as a class as a whole
- Some are done in smaller project groups of around 4 people
- Workshops are spread out over several days/weeks
What you can expect at the end:
- A series of local stories, focusing on spaces of belonging
- A series of illustrations
- A display of the work
Project Summary
- Make sure you have all the materials needed
- Think about the different ways the illustration can be presented locally and/or online
- What facilities do you have access to?
- Do you have a printing budget?
- Do you have access to scanners?
- Are the local community organisations or groups you can collaborate with to tell stories?
- Ideas for presentation:
- Exhibition in your school (original drawings and/or larger prints)
- Online exhibition using Instagram or website
- You can create ‘audiograms’ with audios from interviews overlaying the images
- Printed zines
- You can include the drawings and quotes from the interviews to tell the stories
- Think about where you can print it and where you can distribute it
- Use Department facilities to design (graphic/art teachers)
- OR follow this free guide and resource:
- https://www.canva.com/learn/how-to-recreate-a-magazine-layout-from-scratch/
Prepare
Materials
workshop 1
- Computer / online access
- Paper, and pens for individual brainstorming activity
- Large roll of paper for group activity
workshop 2
- Paper, pens for individual brainstorming and note-taking
- Recording device ( can be a smartphone)
- Computer/iPad for audio editing
- Camera or smartphone
- printer
workshop 3
- Fineliners
- Heavy paper (300 GSM Paper)
- Print out of space/photo
- Lightbox (alternatively, windows can be used)
- Scanner
display
- See display section
- Also, think about what skills and resources you already have in the school
Workshop 1
Intro & Ideation
Introduce Project
(5 mins)
- Introduce the project themes
- Give an overall summary of the project and what the different options are for displaying the work
- Outline what the students can expect in this session
Introduce Artist
Born in Iraq and raised in Austria, Alaa Alsaraji is a London visual artist, designer and creative facilitator. Through her creative practice, she aims to explore themes such as belonging, reimagining space and community, predominantly using the medium of digital illustration. She also works as a facilitator, delivering creative workshops.
You can find examples of all her projects on www.alsarajialaa.co.uk
Intro to Mapping Sanctuaries
(5 min)
Today we want to focus on the ‘Mapping Sanctuaries’ project.
Watch this video to learn more about the project: About 'Mapping Sanctuaries'.
Activity 1:
Dive into the materials
(20min)
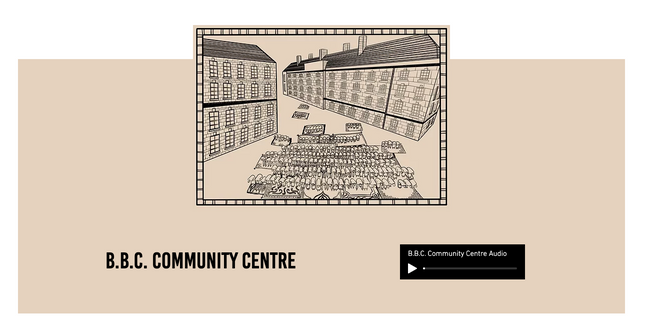
In groups or individually listen to 3-5 examples of the illustrations & audio - make sure to listen to the different stories.
You can access this online: Mapping Sanctuaries.
Activity 2:
Group Discussion
(20min)
Prompt the whole group to reflect on:
- Which stories stood out to you?
- Were there some aspects you could relate to?
- Did any of the stories or illustrations make you think of your own memories or experiences?
Split the class into smaller groups and get each one to reflect on a set of questions. Use large sheets of paper to allow them to brainstorm
Let everyone share their reflections in the end with the whole class
- What are the pros/cons of focusing on spaces/places?
- What spaces/places are often overlooked and undervalued around you? Who are the people associated with those places?
- What are the pros/cons of using illustration as a medium?
- What can be achieved by using people's stories/voices?
- Whose voices/stories do we usually see/hear in traditional art galleries, museums and cultural institutions?
- Does this method challenge this?
- Why do you think not everyone feels a sense of ‘belonging’ in mainstream society
- Is art a useful medium to explore who we are/our identities?
- Art and challenging narratives
- How can art and creativity be used to challenge harmful ideas in society?
Activity 3:
Brainstorming
through
drawing
(25min)
Introduce continuous line drawing as a technique
- Once you set the pen to paper you can’t lift it off the paper until the activity is over
- Spread your drawings across the whole paper
- The purpose of using this technique is to continually think through using our hands
- This method makes all drawings look very similar so you can focus on getting your ideas out rather than focusing on creating a perfect drawing
- If you feel stuck just continue doodling until a new idea arrives, but dont stop drawing during the activity
Activity 3:
Brainstorming
through
drawing
(25min)
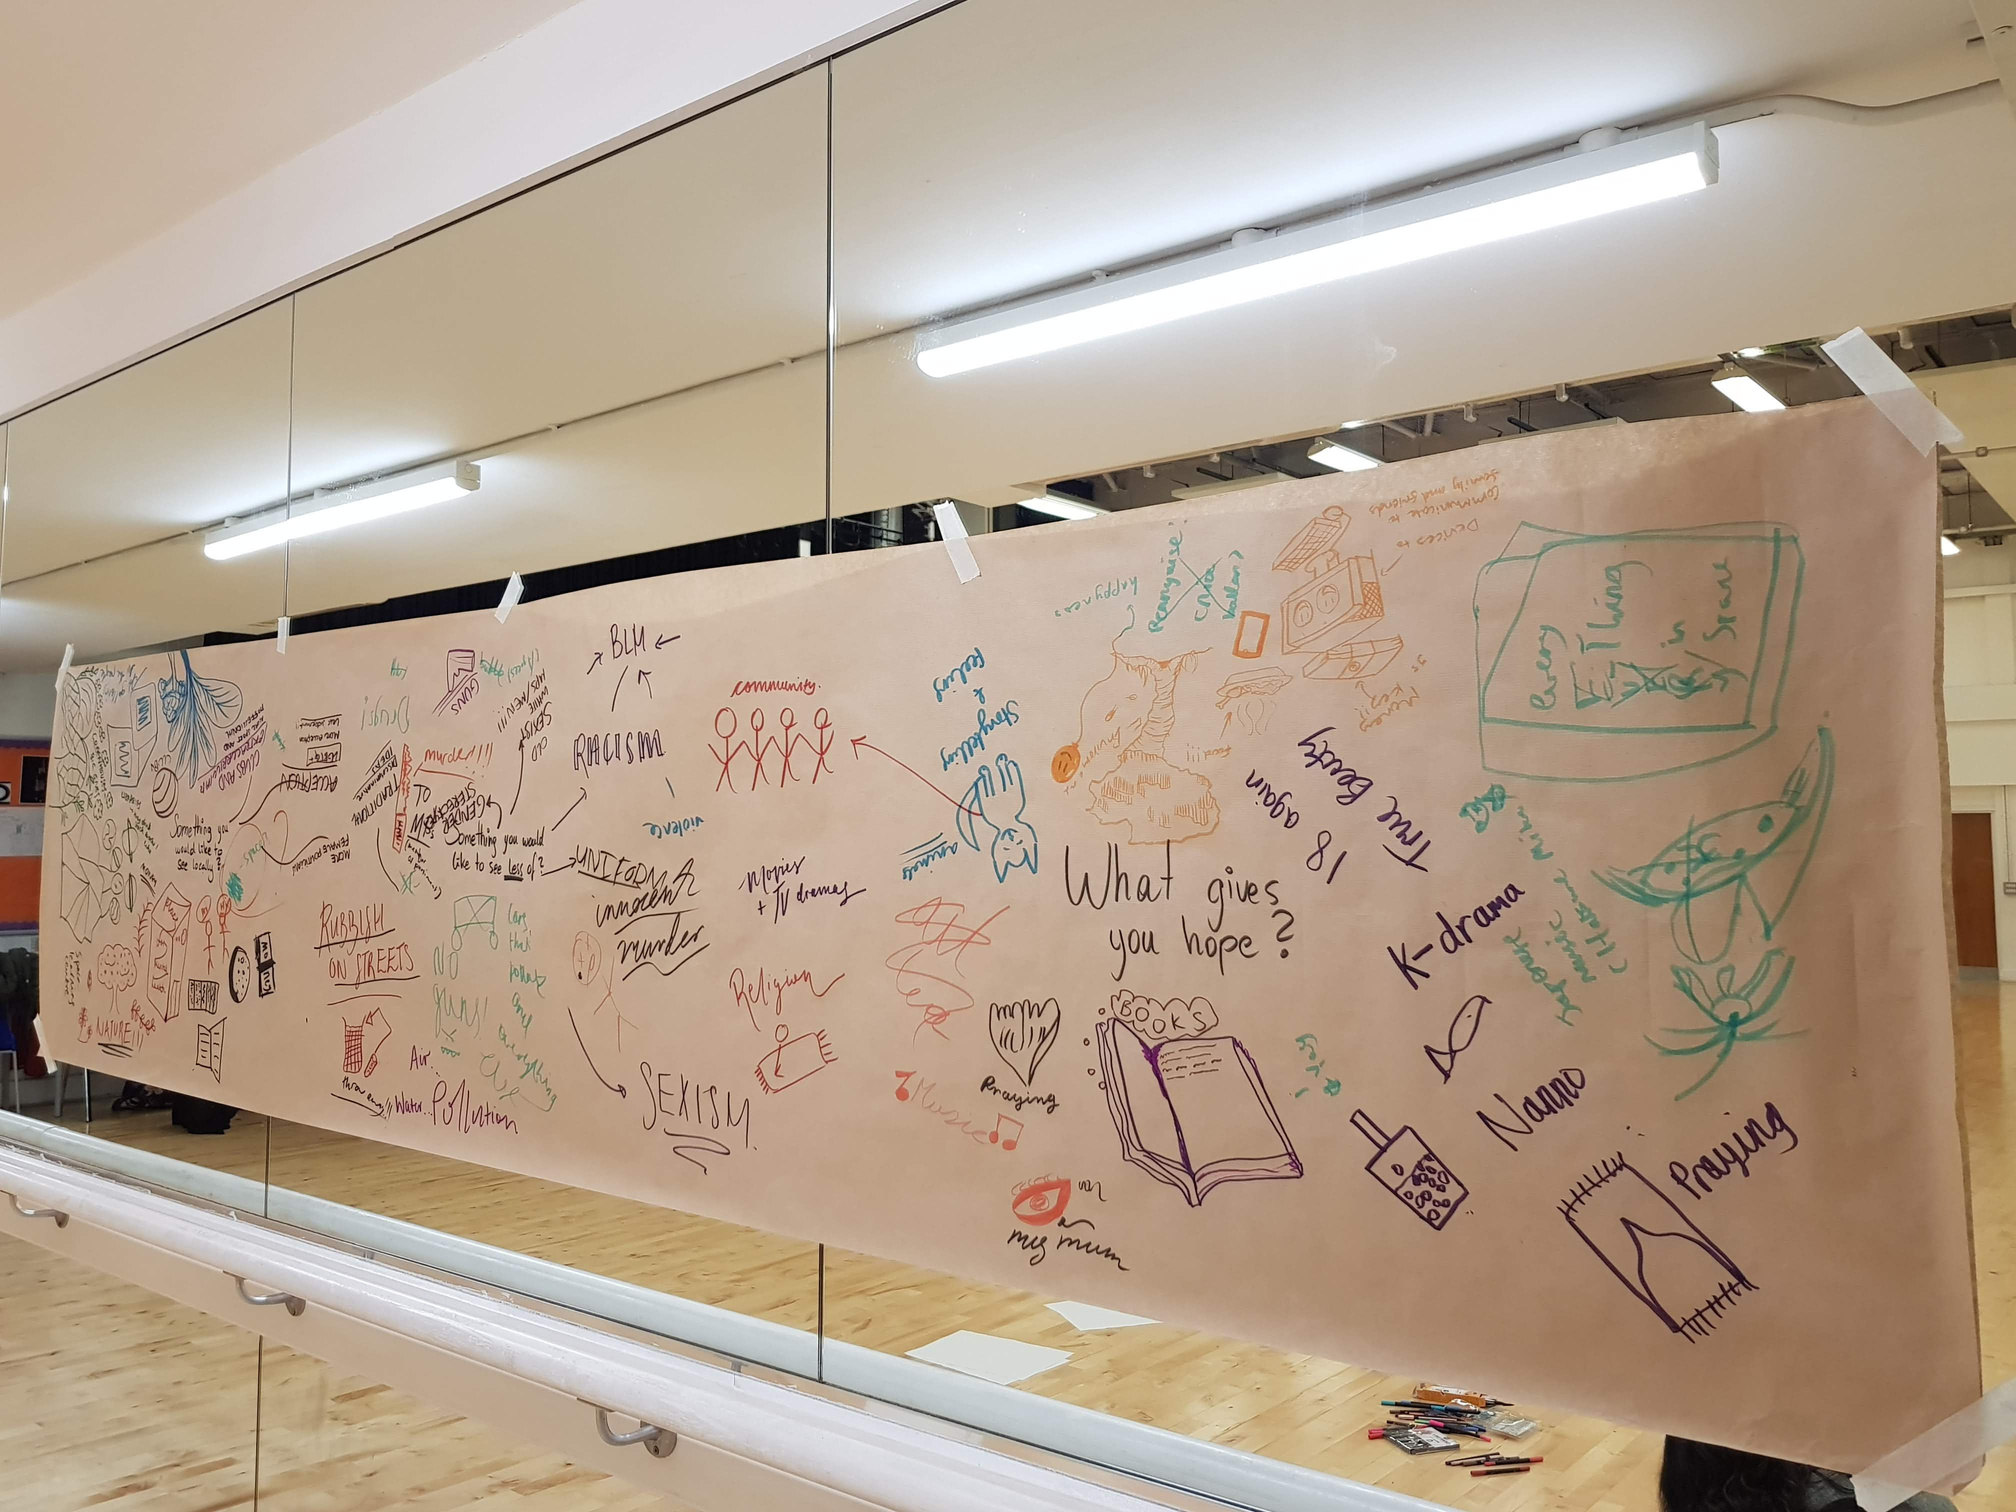
- Use a large scroll of paper and spread it across the room
- Let the students spread around it so everyone has enough space to draw
- Write prompting questions in the middle of the paper or read them out to the students as you draw
- You may need several scrolls depending on class size
- Questions to reflect on through drawing
- What does community look like to you?
- What does belonging feel like?
- What does belonging look like?
- What does belonging sound like?
- Where do you feel safe? Where do feel belonging?
- What objects come to mind?
- What spaces around you come to mind?
- Shops/rooms/streets?
- Who are the people associated with these places?
Activity 4:
Closing discussion & project planning
(15min)
- As a large group get people to share what they drew
- Focus on what local places/spaces came to mind for them
- Why are those places important to us?
In project groups:
- What did you have in common
- Is there a particular theme/type of place/location you want to focus on?
- It could be one street that is significant to you
- You could all focus on different food places
- Different shops
- Our own houses
- Decide on a common theme and display method for the next session
- Group decision making can be done as homework if needed
Workshop 2
Finding Stories Around You
Activity 1:
Interview people around you
(60min)
- Based on the last session's chosen theme/focus make a list of people you want to collect stories from
- This could be you and your relationship/memories with the spaces
- This could be the people who live/work/play/stay around these places
- You can create an open call and let people approach you (allow time for this)
- Decide who will conduct which interview (you can do several)
- Go out and conduct the interview
- Take photos of the space
- Get detailed shots
- Images of the whole space from different angles
- Pay attention to details like objects, patterns etc
- Pay attention to what is important to the people you interview
TOP TIPS FOR INTERVIEWS:
- Be very clear about what your project is about
- If you're recording people, they need to give clear consent to be part of the project
- Be clear about where you might share the recordings
- You need to be aged 18 or over to be able to give consent for yourself, otherwise, a parent has to give consent (teachers can provide a consent form)
- Ask open-ended questions
- Ask about a particular memory that stands out
- Ask them to describe details they remember
Activity 2:
Review your stories
(30min)
Share the interviews with your team
- What are the common themes
- Can they be grouped in a certain way
- Choose what stories you want to focus on (you can use all)
- Choose what format you want to present it in
- Choose at least 1 image per person which reflects the stories you want to share (collect at least 1 image each ready to print for the next session)
- You may need to edit down the audio piece to shorter snippets
- You can use this resource to edit audios:
- https://audiotrimmer.com/
Workshop 3
Draw Your Spaces of Belonging
Activity 1:
Draw your chosen spaces
(80min)
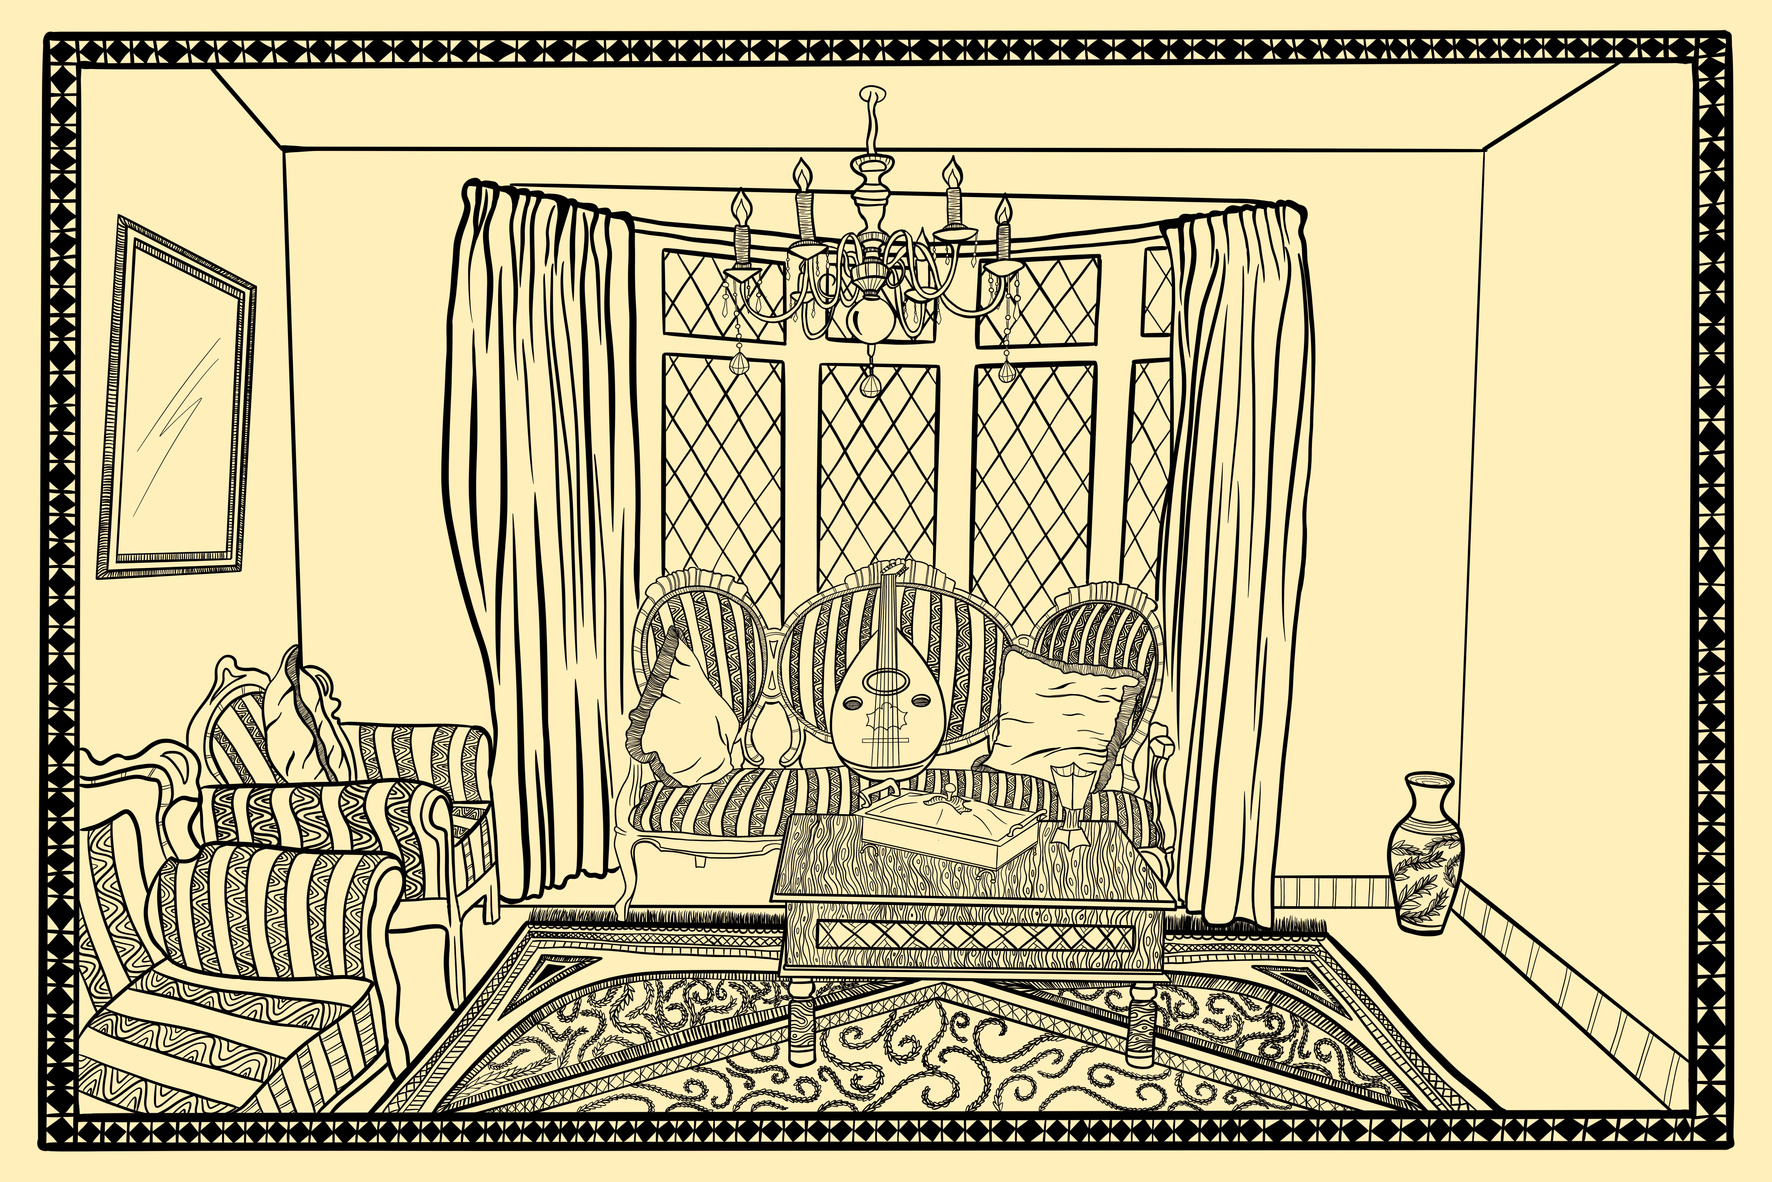
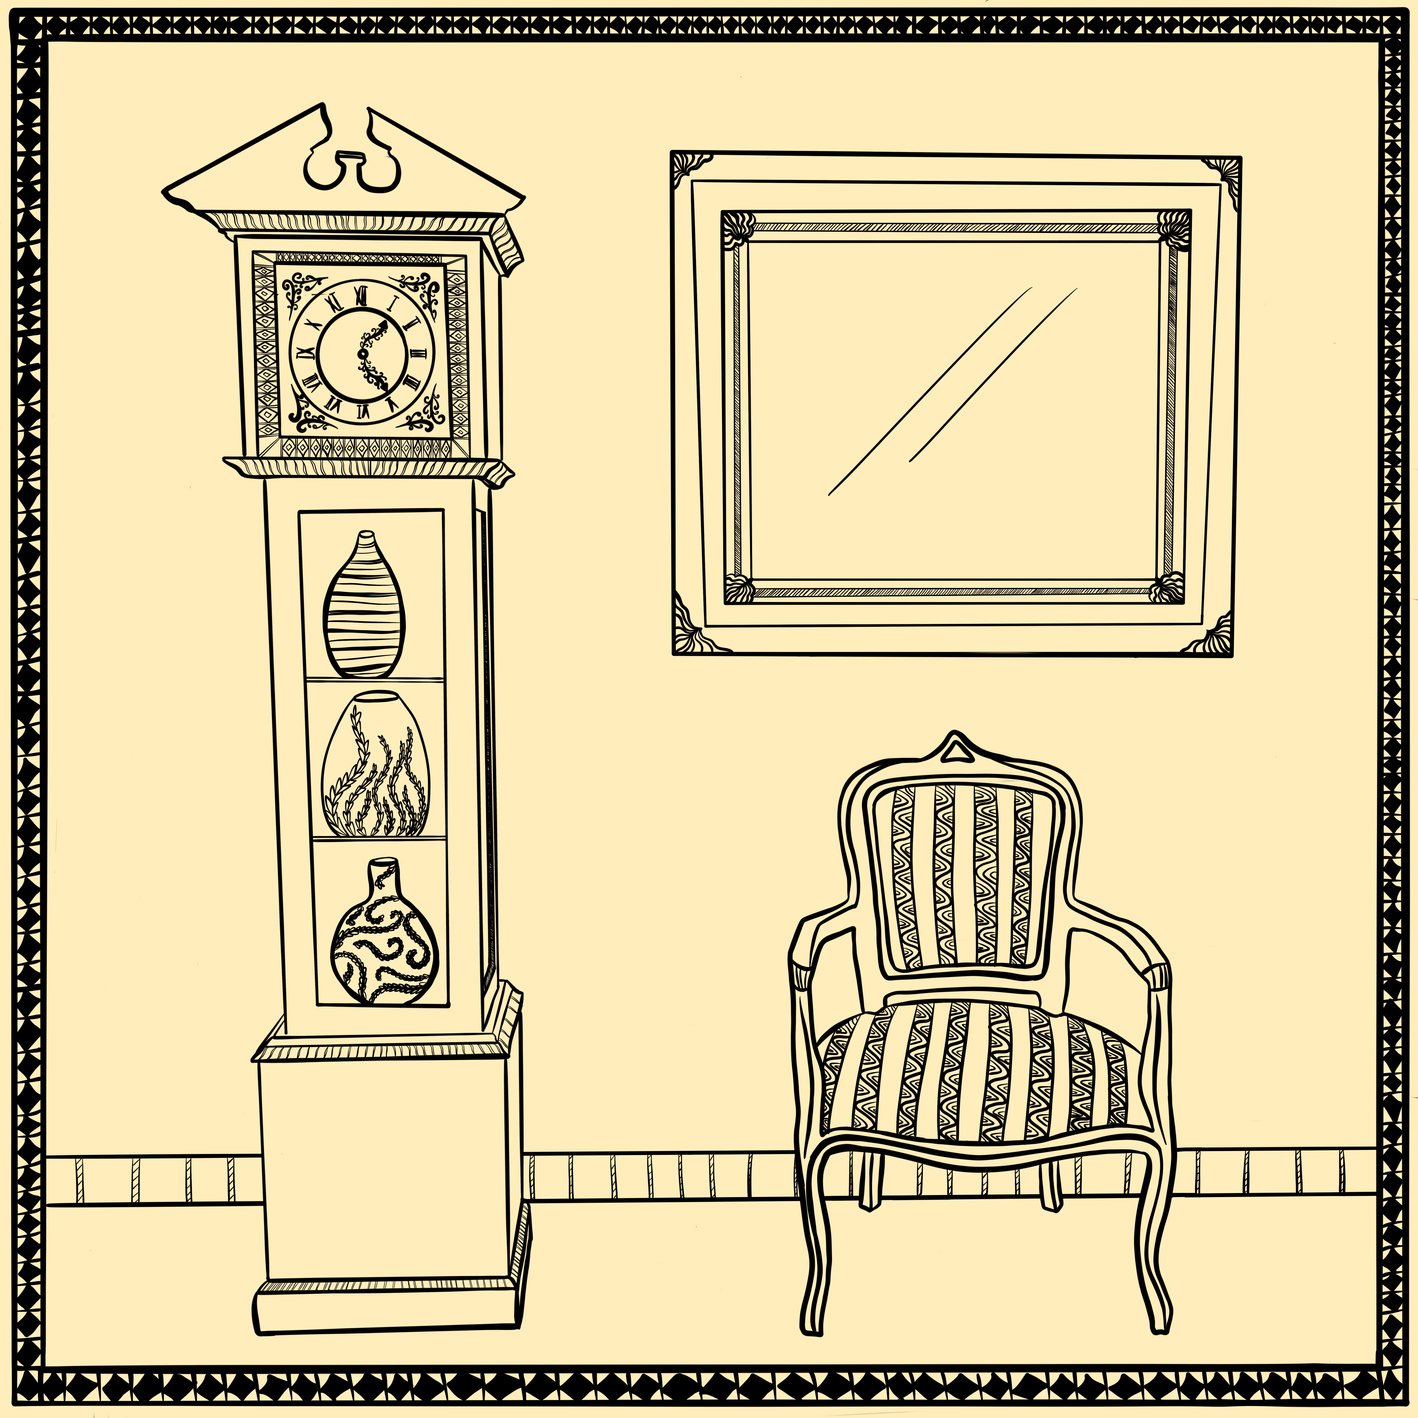
- Spend this session drawing their chosen spaces/places from the images they’ve taken following this tutorial and resources
- Give each student enough time to practice some patterns, test how to use the pens
- Think about size of the artwork, if you need to scan the work make sure your paper size does not exceed the scanner size
https://www.mappingsanctuaries.co.uk/drawing-tutorial
Activity 2:
Scan/document your work
(10min)
- Make sure to use high resolution scanning or photographing to have digital records of the illustrations (min 300dpi)
- A regular office scanner will work for this
Display the work
Display Ideas
Think about how much time and resources you have in your school and which approach is feasible.
Let the students choose their favorite method that is possible to achieve.
Also think about your audiences. Who would you like to see your work? How can you reach them?
Exhibition
- You can use the original drawings and/or larger prints from scans
- You can use a local printer to get larger sizes
- You could exhibit in your school
- In local art/community centres
- Unusual locations - maybe a local restaurant/cafe/library
Display Ideas
Online exhibition
- Using Instagram
- Creating your own website (You use ‘No-Code’ website builders like Squarespace or Webflow)
- You can create ‘audiograms’ with audios from interviews overlaying the images
- Use this resource https://www.headliner.app/
Printed zines
- You can include the drawings + quotes from the interviews to tell the stories
- Think about where you can print it and where you can distribute it
- Use Department facilities to design (graphic/art teachers)
- OR follow this free guide and resource:
- https://www.canva.com/learn/how-to-recreate-a-magazine-layout-from-scratch/
Note: Time & materials depend on the method used
Create Artist Statement
Evaluation Discussion
Questions to Reflect On
- Why did you pick your particular ‘place of belonging’?
- What did you enjoy about the process?
- What is one thing you would take away?
- Do you feel like you have the tools/skills to share stories?
- Do you have a different perspective about yourself or others in your community?
- Have you participated in a similar project before?
- Would you want to participate or create a project like this again?
- What is something you found challenging about the project?
- Do you believe that art can be a force/tool for social change?
